In the competitive world of Free Fire, Purgatory has earned a reputation. It's the map that separates casual players from serious ranked climbers. It rewards map knowledge more than any other battleground. Bridges become death traps. Hills decide firefights before the first shot is fired. Knowing where to land is the first step to surviving past the first two minutes.
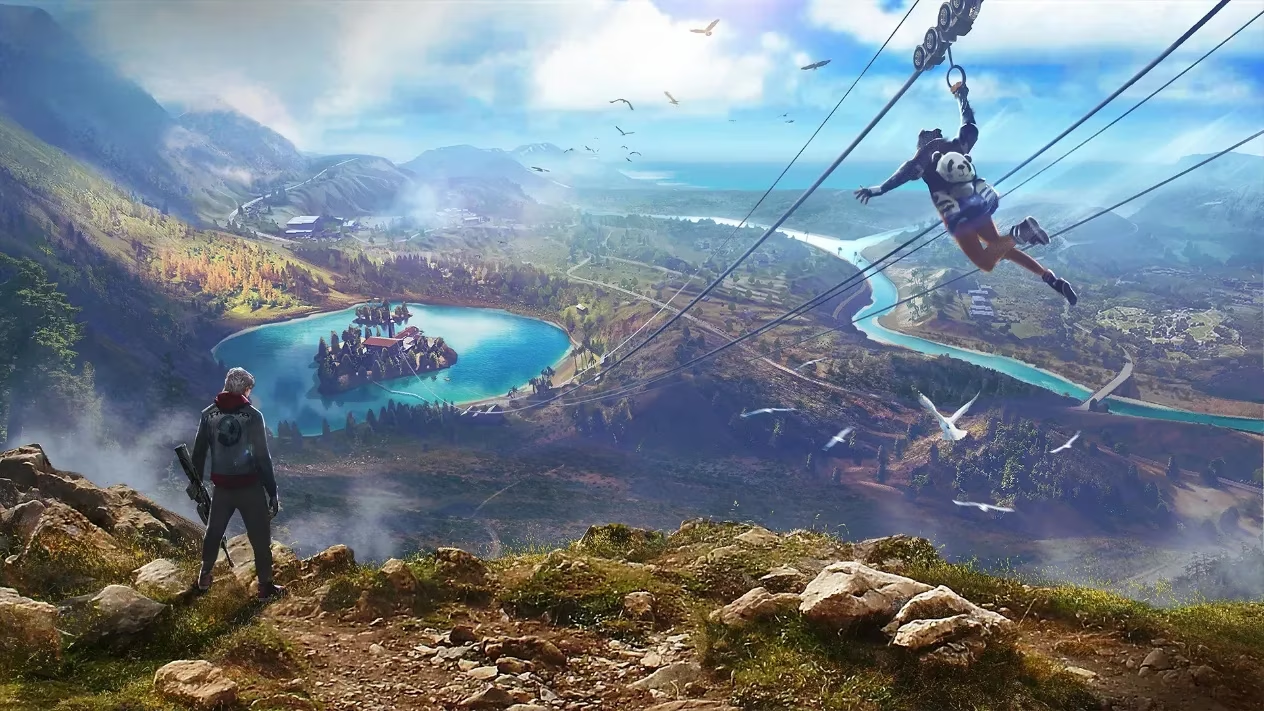
Purgatory is nearly as large as Bermuda, but it plays much bigger. The canal system cuts through the center, a watery spine that refuses to be ignored. You can't just run from one zone to another. Bridges and ziplines are your only options, and both are chokepoints. The map has three distinct terrains: open fields in the north and east, dense river-divided central zones, and elevated highlands near Ski Lodge and Mt. Villa in the south. That variety makes it special—and dangerous.
One important note: Purgatory is only available in the daily rotation from 6:00 PM to 10:00 PM. Even in 2026, this window remains. Plan your ranked sessions around it.
The 14 Named Locations: Loot and Chaos
Purgatory has 14 named locations. The high-loot zones cluster around the central canal. The safer landing spots are pushed to the edges. That trade-off is the core tension.
| Location | Loot Tier | Congestion |
|---|---|---|
| Ski Lodge | High | Moderate |
| Forge | High | Low-Moderate |
| Golf Course | Medium | Low |
| Moathouse | High | Moderate-High |
| Quarry | Medium | Low |
| Brasilia | High | Extreme |
| Central | High | Extreme |
| Marbleworks | High | High |
Best Drop Zones for Ranked
Ski Lodge is the most consistent landing spot. It sits on elevated terrain in the southwest, giving natural high-ground advantage. Loot is high, often offering sniper rifles and AR-level gear. Traffic is moderate—2 to 4 squads. After looting, rotate east toward Forge or northeast toward Lumber Mill. Both paths offer elevation or river-crossing points.
Forge is underrated. A large warehouse complex on the western side, it has high-tier loot without the density of Brasilia. The warehouse gives indoor loot and elevated cover. The crane offers an elevated angle on anyone approaching. But outside cover is limited. Rotate to Lumber Mill or cut northeast to Central.
Golf Course is overlooked, and that's why it works. Players avoid it because the loot looks low on paper. What they miss is positional value: clear sightlines to the two main bridges connecting north and south. Land there, loot the stadium, then set up near the tree line. You'll have first-strike advantage on squads crossing the bridge. Use it as a staging area, not a campsite.
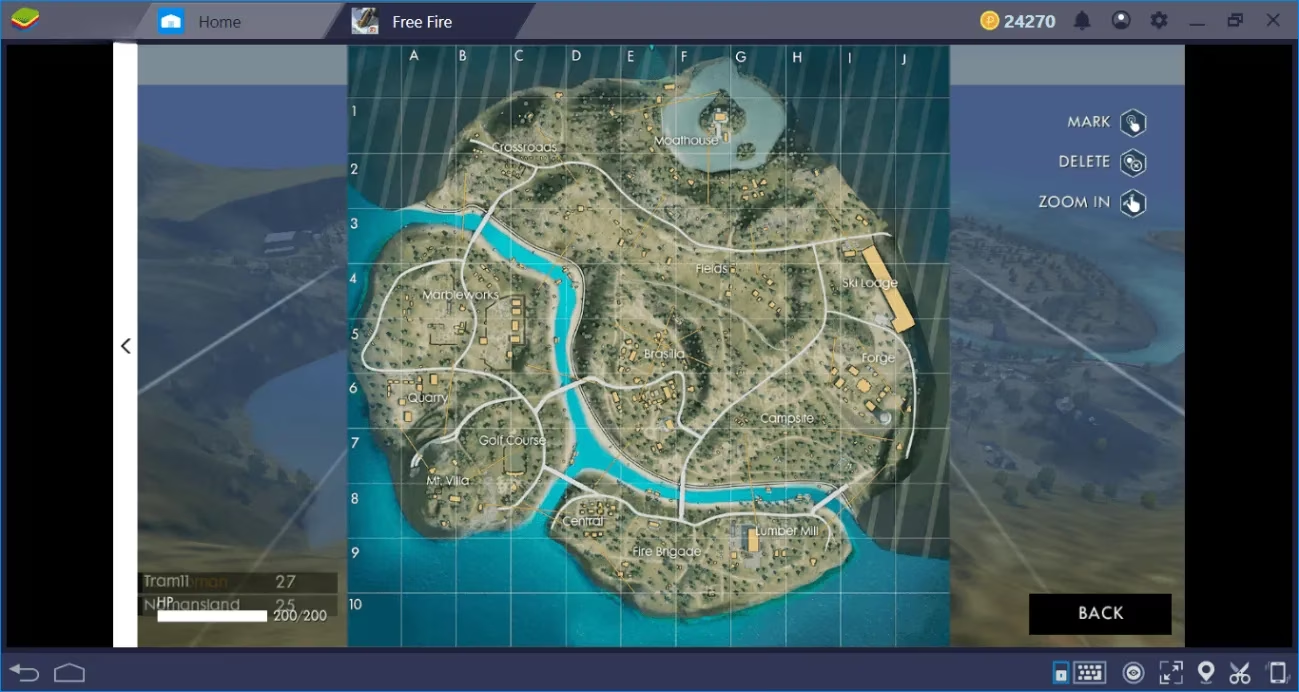
Moathouse is a small island in the center, connected by two bridges and ziplines. High-tier loot across three structures. Once secured, it's extremely defensible. But it's a death trap if you're the second squad to arrive. The bridges are the only exit routes, and anyone on the mainland can watch both. Be first or don't drop at all. If your drop line puts Moathouse within a 10-second glide, go. If it's a long glide, someone else got there first. For squads that secure it clean, rotate out via zipline before the first zone announcement.
Quarry sits on the eastern edge and is almost always empty. Medium-tier loot, decent cover, zero early-game pressure. Perfect for learning the layout. Rotate west into the mid-map, then swing north toward Marbleworks or south toward Brasilia's outskirts to pick off weakened squads. Quarry players often hit mid-game fully equipped.
The Worst Drop Zones (Unless You're a Masochist)
Brasilia is the deadliest drop. High-tier loot concentrated in a dense town grid that becomes a permanent firefight. In ranked, landing here without a coordinated squad is a quick route to losing RP. If your team insists, go for outskirt buildings on the east and west edges, not the town center.
Central is similar. High loot, connected by a major bridge, almost always in the flight path. Narrow alleys make it a nightmare when two squads hit simultaneously.
Marbleworks has great loot but almost no usable cover inside. Open-field warehouses with waist-height walls mean your head is always exposed. Veterans know how to use it. New players get eliminated in 45 seconds flat.
Rotation: The Art of Crossing the Canal
Rotation on Purgatory is harder than any other map. The canal punishes late decisions.
-
Cross bridges early or not at all. Once the zone shrinks, bridges become sniper traps with zero alternative routes.
-
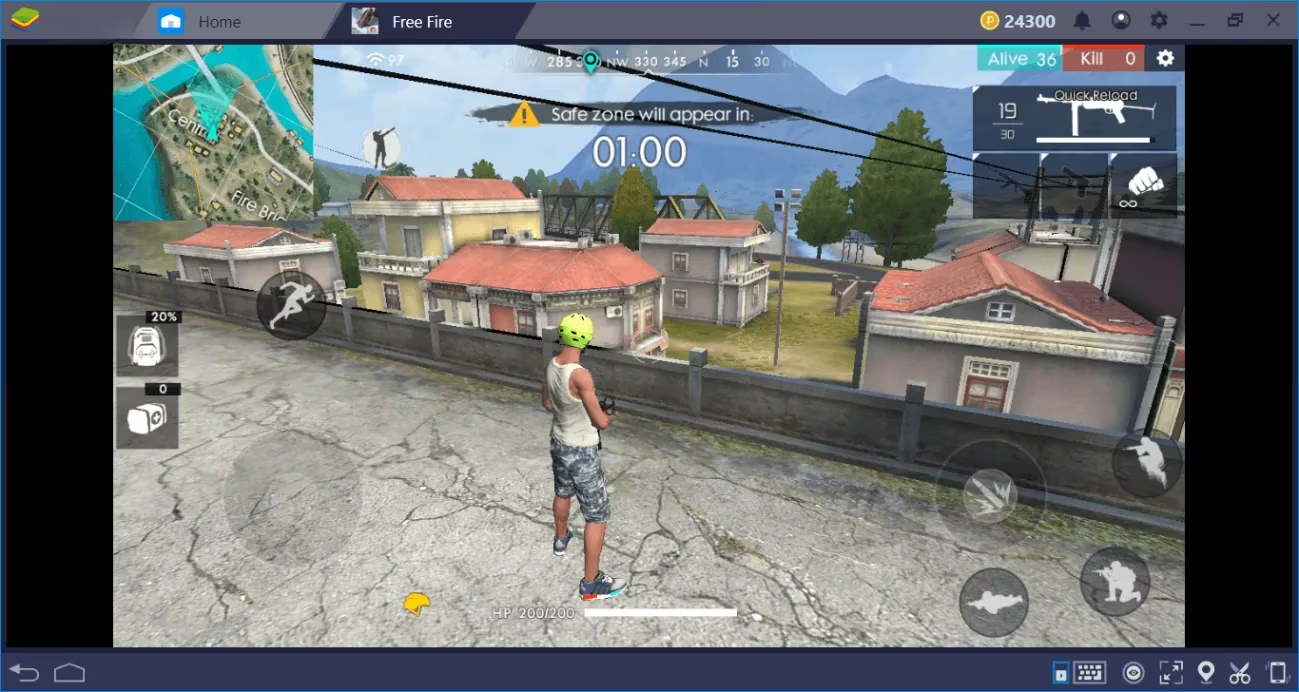
Use ziplines aggressively. Purgatory's zipline network is denser than Bermuda's. They let you gain elevation in seconds, but always check the landing point for landmines.
-
High ground always wins in the mid-game. If you can position on any hilltop with a clear sightline to the final zones, you dictate the pace.
-
The canal choke points near the center bridges are where most ranked games get decided. Control them or avoid them entirely. There is no middle ground.
If you're in the north half and the zone is closing south, plan your bridge crossing immediately at the zone announcement. Players who rotate late get caught mid-bridge with no cover.
Characters and Weapons That Dominate
Purgatory's long sightlines and isolated flanking paths favor specific skill sets.
-
Rafael: Dead Silent on snipers and marksman rifles is broken here. You can fire from hilltops near Ski Lodge without showing on enemy minimaps.
-
Moco: Her Hacker's Eye tags any enemy you hit for up to 5 seconds. On open ground with long engagements, keeping track of retreating enemies is massive.
-
Alok: Drop the Beat's 15% movement speed boost during bridge crossings and open-field rotations can be the difference between making it to cover and getting caught.
Weapons: Purgatory rewards medium-to-long range. Priority picks: SVD, SKS, SCAR, AK, M14. Any AR with good range and a 4x scope covers most fights. SMGs and shotguns have limited use except inside Brasilia and Central's tight alleys. If you're avoiding those hot drops, deprioritize them and hold out for AR loot.
Ranked Tips That Actually Move Your Rank
These are the habits that separate climbers from campers:
-
Avoid hot drops unless you're confident. Losing RP at Brasilia because six squads landed there is a failure of decision-making, not aim.
-
Watch the plane path before you jump. A location 1,000 meters from the plane means 30+ seconds of glide time—a race you might lose.
-
Stack resources for mid-game, not kills. The mid-game between zone 2 and zone 4 is when ranks get decided. Teams with armor, medkits, and ammo outlast those who burned everything in hot drops.
-
Learn final zone tendencies. Purgatory's final zones often collapse toward the central canal or southern highlands. Start positioning south and west earlier.
-
Use vehicles on open fields. A jeep can cover Quarry to Brasilia's outskirts in under 20 seconds. Use them to rotate fast, then ditch before populated areas.
Frequently Asked Questions
Is Purgatory available all day? No. It's only in the daily window from 6:00 PM to 10:00 PM.
Best landing spot for beginners? Ski Lodge or Quarry. Solid loot, low traffic.
How to cross bridges safely? Cross early before enemies set up. If contested, use ziplines at less obvious points. Mid-game crossings are a last resort.
Best weapons? AR and sniper/marksman rifles. SCAR, AK, SVD, M14.
Is Purgatory good for rank pushing? Yes, but only if you avoid hot drops. Landing at Ski Lodge, Forge, or Quarry and playing for survival is a reliable RP-positive strategy. Hot-dropping Brasilia every match is a fast way to stall.
So there you have it. Purgatory doesn't care about your reflexes. It cares about your brain. Land smart, rotate early, and let the canal do the rest. As the veterans say, "high ground wins fights"—and on Purgatory, that's the only truth that matters.